What a seat belt system is
A seat belt is not a strap. It is a system of parts working together to control how far and how fast an occupant moves relative to the vehicle when the vehicle stops moving suddenly. Every one of those parts has a job, and the system is only as good as the weakest one.
The underlying problem is straightforward. A vehicle travelling at speed carries its occupants at the same speed. When the vehicle decelerates rapidly, the occupants keep going until something stops them. Without a restraint, that something is whatever is in front of them — the steering wheel, the dashboard, the seat in front, or the interior structure. The restraint's job is to be that something instead, and to apply the stopping force through parts of the body better able to tolerate it, over a longer period, and in a controlled direction.
It also has a second, less discussed job: keeping the occupant in the position that the rest of the vehicle's safety design assumes. Airbags in particular are engineered around an occupant who is belted and therefore arriving at a predictable place at a predictable moment. An unbelted occupant is not where the system expects them to be.
Components of a seat belt
Most vehicle restraints are built from the same small set of parts. Names vary between manufacturers and workshops, but the functions do not.
Webbing
The woven strap itself. It is engineered to a specific width and construction with a controlled amount of extension under load — a belt that did not stretch at all would transmit a very abrupt force to the occupant, and one that stretched too much would let them travel too far. Webbing condition is the most visible indicator of whether an assembly should stay in service.
Retractor
The spool mechanism, usually hidden behind trim at the base of the pillar or built into the seat frame. It stores the webbing, pays it out as the occupant reaches or leans, takes up slack so the belt sits against the body, and locks the webbing when conditions demand it.
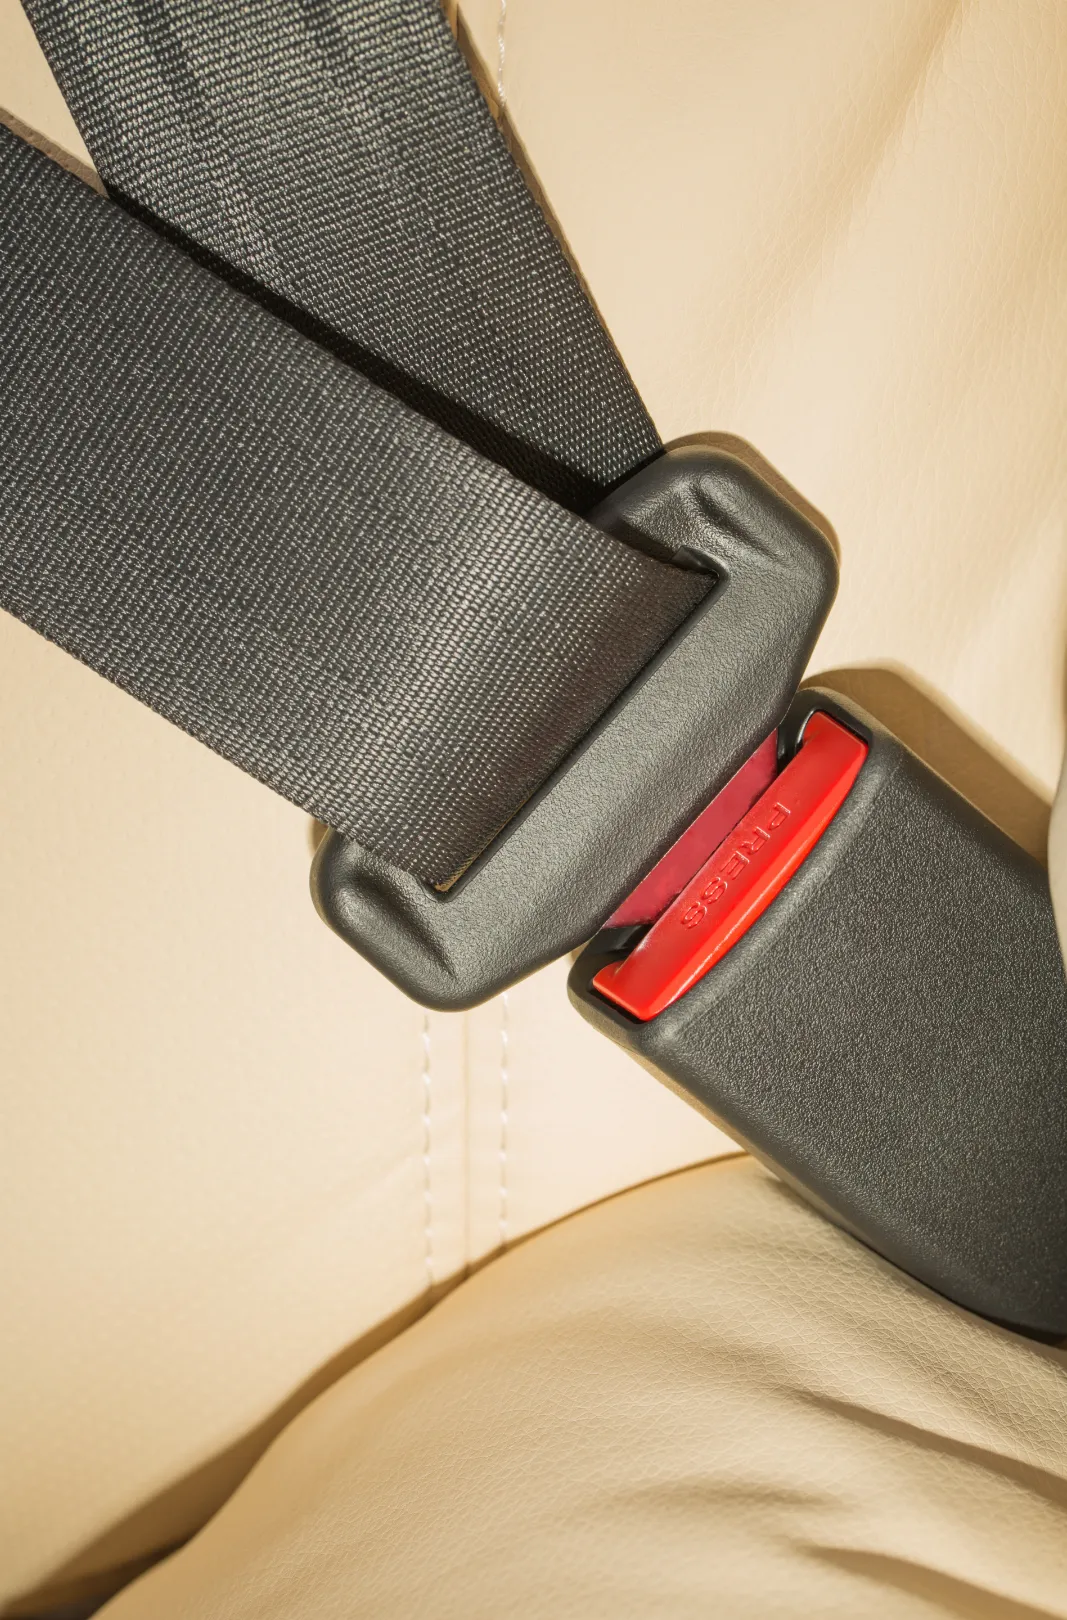
Tongue plate
The metal latch plate that slides freely along the webbing and inserts into the buckle. On a three-point belt it is the tongue's position that divides the single length of webbing into a lap section and a shoulder section.
Buckle and stalk
The receptacle that accepts and retains the tongue plate, mounted on a short rigid stalk or a flexible cable anchored to the seat frame or floor. On many vehicles the buckle also houses a switch that tells the belt reminder system whether the belt is fastened.
Anchorage points
Where the assembly is bolted to the vehicle structure or seat frame. Their position and spacing determine the geometry of the belt on the occupant, and their integrity is a structural matter — anchorages are engineered to carry the restraint load into the body of the vehicle.
Upper guide, D-ring and height adjuster
The loop near the pillar that turns the shoulder webbing downward across the torso. Where a height adjuster is fitted, it allows that turning point to be raised or lowered so the belt crosses the collarbone rather than the neck or the outer edge of the shoulder.
Almost every fitment question comes down to one of these parts. Which retractor mounting, how long the webbing is, what profile the tongue has, where the anchorages sit and whether a height adjuster is in the path — those five answers narrow a requirement faster than any part number.
How it restrains occupant movement
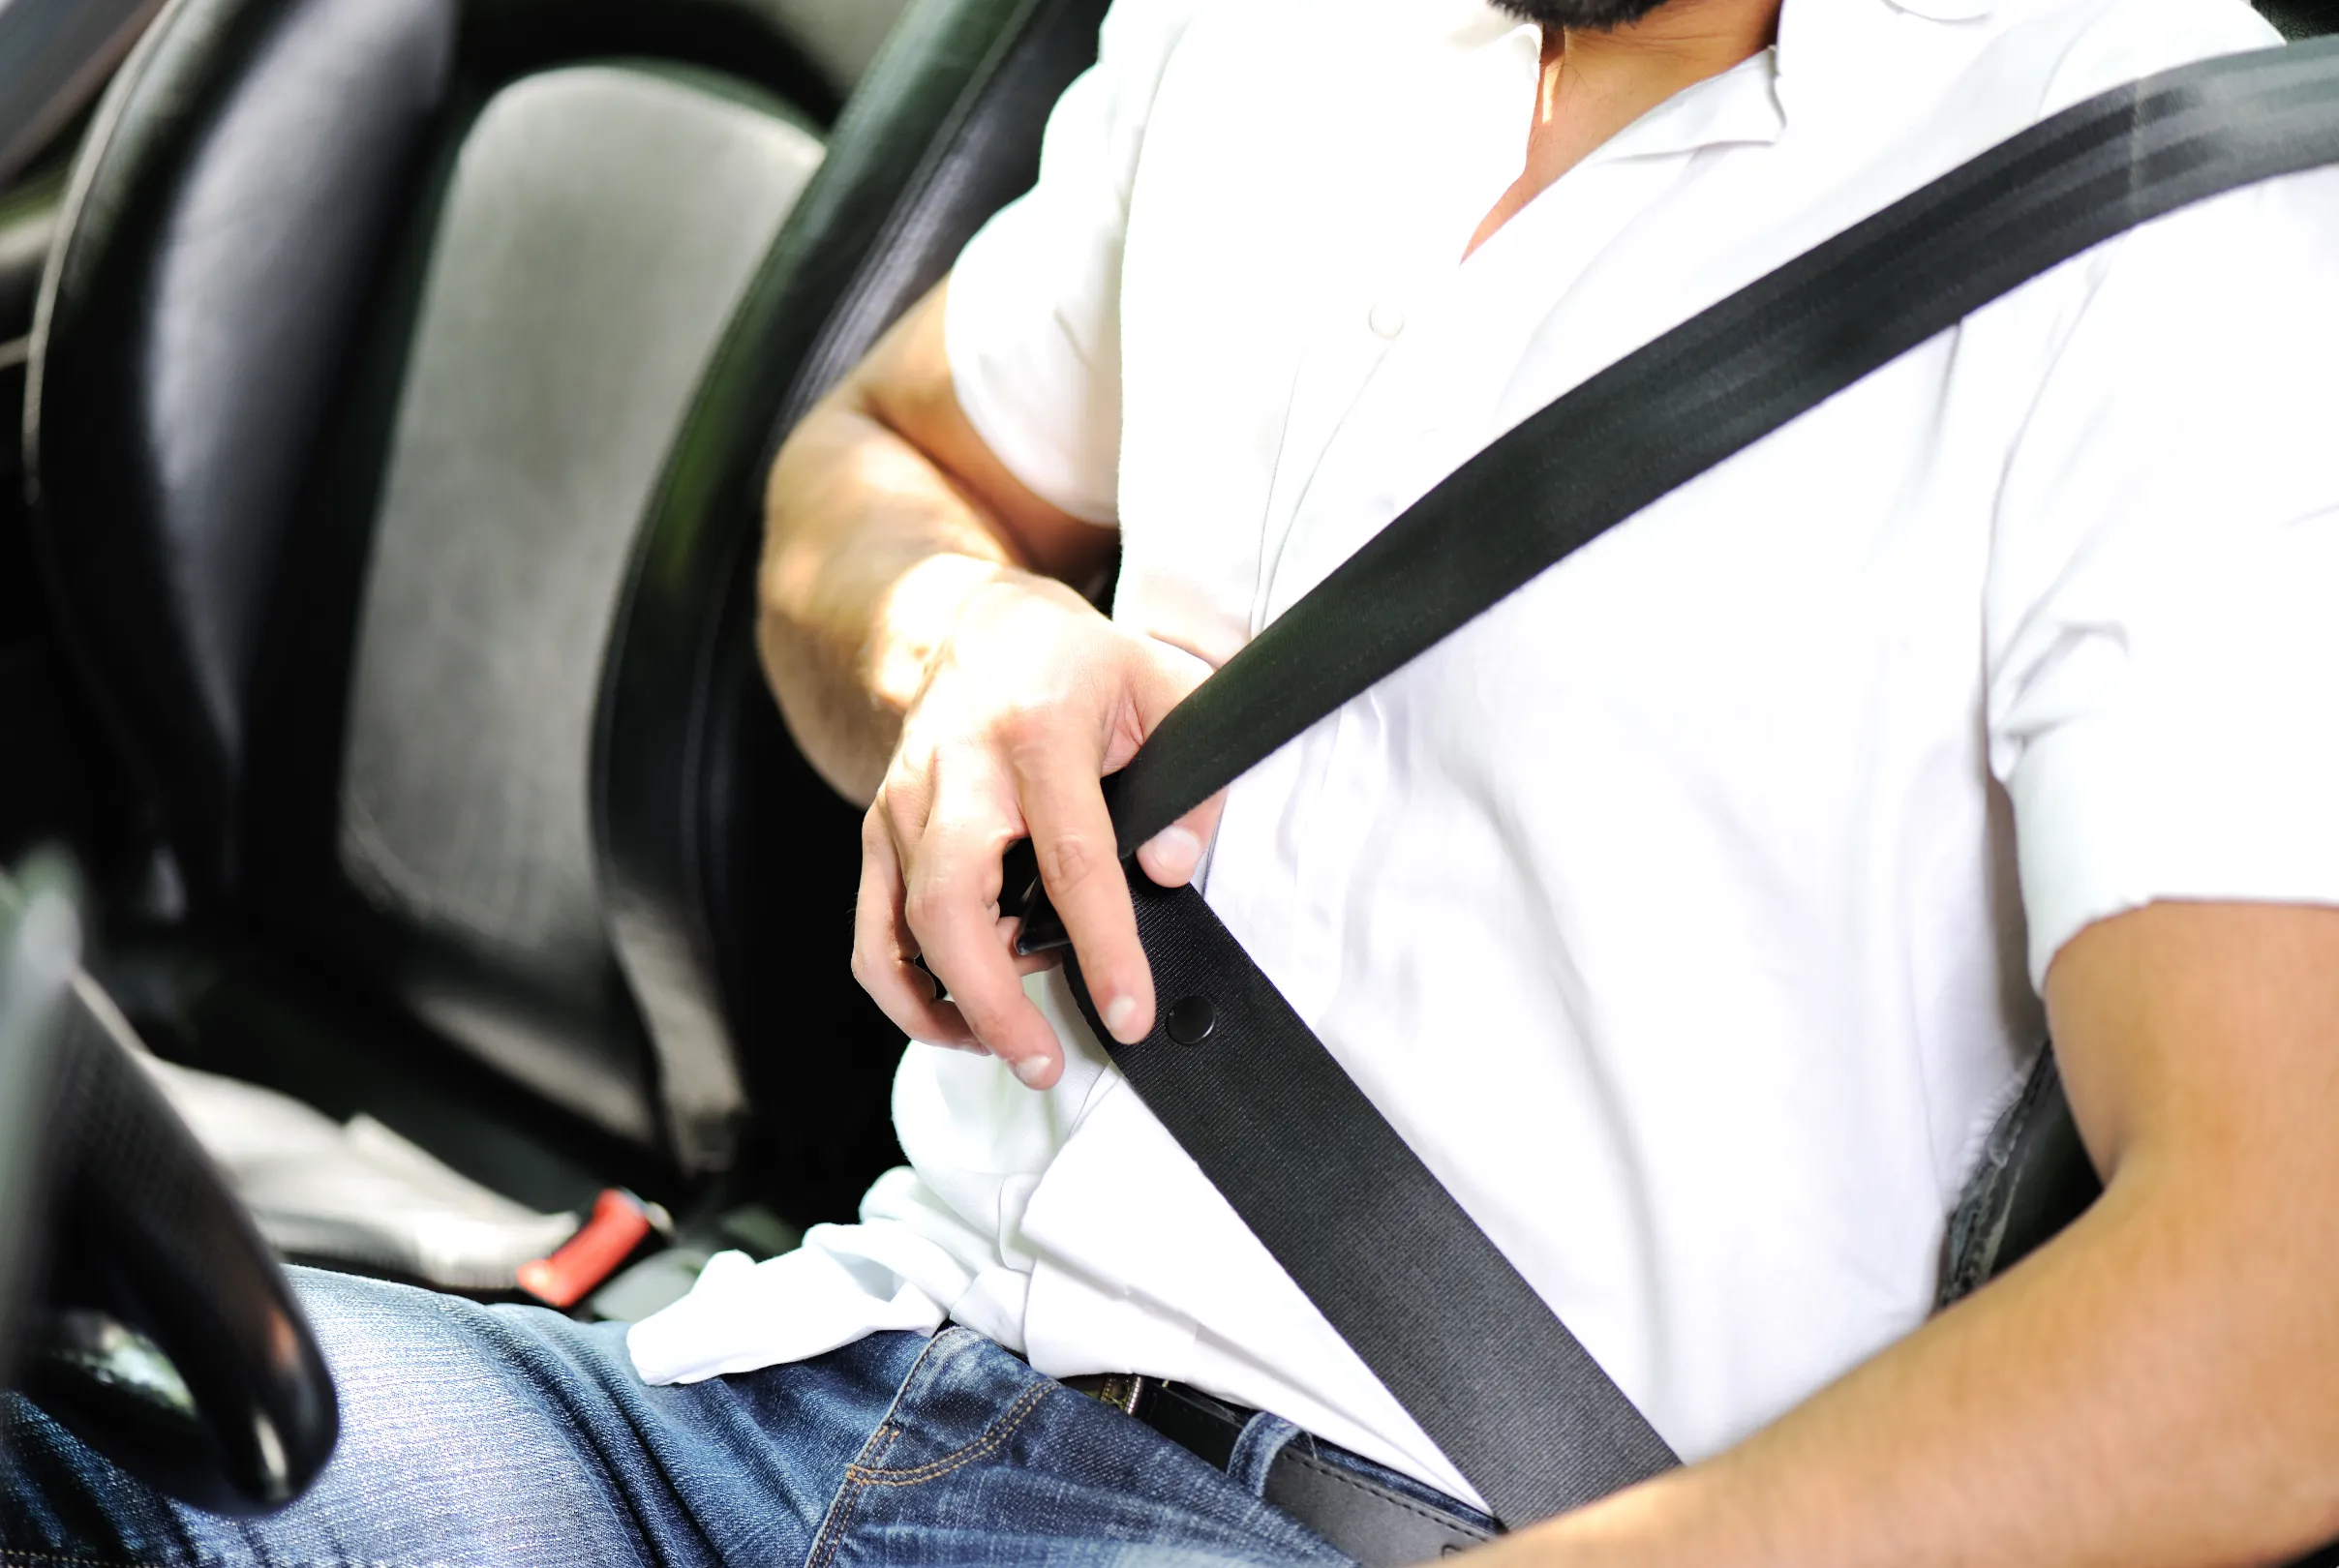
A three-point belt works by dividing the restraint load between two regions of the body that can carry it. The lap section bears against the pelvis — a strong, bony structure. The shoulder section bears across the collarbone and rib cage. Both are load paths the body tolerates comparatively well, which is why belt geometry is not a comfort preference but a functional requirement.
This is also why the two classic wearing errors matter. A lap section riding up onto the soft abdomen puts load into an area that cannot carry it. A shoulder section slipped behind the arm or off the shoulder removes the upper load path entirely and leaves the occupant free to rotate forward about the lap belt.
The system also works over time, not just in space. By allowing a controlled amount of extension, the belt spreads the deceleration of the occupant over a longer interval than an unyielding restraint would. Reducing the peak of that force is a large part of what the restraint is for.
- The lap section should sit low across the pelvis, in contact with the body.
- The shoulder section should cross the collarbone and the centre of the chest.
- Slack should be taken up by the retractor rather than left in the webbing.
- Nothing should be routed between the belt and the occupant that changes its path.
Understanding retractors
The retractor is what makes a belt usable in daily life. Without one, a belt would need manual adjustment at every use and would inevitably be left with slack. The mechanism has to do two contradictory things well: let the webbing move freely most of the time, and stop it moving immediately when it matters.
Emergency locking
The common arrangement locks the spool in response to two triggers. One responds to the webbing being pulled out rapidly — the reason a sharp tug on the belt causes it to lock while a slow pull does not. The other responds to the vehicle itself decelerating or changing attitude sharply, locking the belt regardless of how the webbing is moving.
Switchable locking
Some retractors can be switched into a mode that locks the webbing at whatever length it has been drawn to, by pulling the belt fully out and letting it retract. This is typically provided for securing certain items or restraint systems that need the belt held at a fixed length rather than free to pay out.
What a failing retractor feels like
Retractor problems announce themselves in use, and they are easy to normalise. If any of the following describe a belt in your vehicle, it is worth having a qualified workshop look at it rather than adapting to it.
- The belt does not retract fully, or has to be fed back in by hand.
- Webbing pays out in jerks rather than smoothly.
- The belt locks during normal, unhurried movement and will not release without slackening.
- A sharp tug on the webbing does not produce a positive lock.
- The retractor makes a noise it did not previously make.
Buckles, tongues and latching
The tongue and buckle are a matched pair, and treating them as independent parts is one of the more common sourcing errors in this category. The buckle contains a catch that engages the aperture in the tongue plate. That engagement depends on the tongue's thickness, the shape of its shoulder, and where the aperture sits along its length — dimensions that are not obvious by eye.
A correct latch has a distinct character: the tongue enters without force, seats with an audible and tactile click, and cannot be withdrawn by pulling on the webbing. Release should require deliberate pressure on the button and should then be immediate.
Symptoms worth acting on
- The tongue needs several attempts, or an unusual angle, to latch.
- The click is absent, muted or inconsistent.
- The tongue can be pulled free without pressing the release.
- The release button is stiff, sticky, or has to be pressed more than once.
- The buckle releases on its own over rough surfaces.
Contamination is a frequent cause in working vehicles — dust, grit, food debris and liquids all find their way into a buckle throat. That does not make it a cleaning problem to be solved with a spray. Lubricants and solvents can attract further debris or affect the mechanism, so a buckle that has become unreliable should be assessed by a workshop rather than treated at the roadside.
Maintenance considerations
Seat belts are close to maintenance-free by design, which is precisely why their condition tends to go unexamined for years. There is no service interval prompting anyone to look at them, and a belt that is 80% as good as new feels identical to one that is perfect.
Reasonable care
- Let the belt retract fully rather than leaving webbing hanging out where a door can trap it.
- Check that the webbing is not being caught, pinched or abraded by a door, seat runner or reclining mechanism.
- Keep the buckle throat clear of debris, and avoid putting objects into it.
- Clean webbing only in the way the vehicle manufacturer recommends — harsh chemicals and solvents can affect the fibres.
- Do not attempt to lubricate a retractor or buckle to cure a symptom.
- Do not modify, shorten, knot, sew or otherwise alter the webbing or hardware.
Belts that are used least
Rear seat belts, and the centre position in particular, are the ones most likely to have a problem nobody has noticed — because nobody has needed them recently. If a vehicle carries rear passengers only occasionally, it is worth deliberately checking those belts rather than discovering their condition when they are needed.
When a belt should be inspected
The following are reasons to have a restraint examined by a qualified workshop. None of them are reasons to keep using the belt and see whether it settles down.
- Any collision in which the belt was worn — regardless of how the belt looks afterwards, and regardless of the severity of the impact.
- Cuts, nicks or fraying anywhere along the webbing, including along the edges where wear starts.
- Glazing, stiffness or a shiny, hardened patch, which can indicate heat exposure or friction damage.
- Chemical staining or contamination — solvents, fuels, cleaning agents and some cargo residues can affect the fibres.
- Fading or degradation from prolonged sun exposure, particularly on belts that sit in direct light.
- Any retractor symptom described in section 04.
- Any latching symptom described in section 05.
- Twisted webbing that cannot be straightened, or webbing that will not lie flat against the body.
- Visible damage, corrosion or looseness at an anchorage point, or a bolt that appears to have moved.
- Any part of the assembly that has been previously modified or repaired outside the manufacturer's procedure.
A restraint that has been loaded in a collision may have absorbed energy in ways that are not visible — webbing extension, retractor mechanism stress, deformation at an anchorage. Whether it can remain in service is a determination for a qualified technician following the vehicle manufacturer's guidance, not a judgement to make by looking at it.
Replacement considerations
Once a belt is being replaced, three questions decide what actually gets ordered.
Assembly or component?
Replacing the complete assembly is generally the more dependable route, because the parts arrive already matched to each other. Replacing a single component makes sense when the fault is genuinely isolated and the remaining parts are known to be sound — but a retractor that has stopped locking cleanly may have been stressed by the same event that damaged the webbing, so isolating a fault is not always as simple as it appears.
Is the seating position correct?
Left and right are not interchangeable, front and rear are usually not interchangeable, and on many vehicles rear outboard and rear centre are entirely different parts. A belt that is "for that model" is not necessarily for that seat.
Who fits it?
Installation belongs with a qualified workshop working to the vehicle manufacturer's procedure. Anchorage bolts are specified items with specified torque figures, spacers and washers are there for a reason, and the routing of the webbing through guides and adjusters affects how the belt sits. Correct parts fitted incorrectly do not restrain correctly.
Why vehicle compatibility is the whole question
It is tempting to think of a seat belt as a generic article that varies mainly in length. In practice, the specification is determined by the vehicle in at least six independent ways, and getting five of them right is not a partial success.
- Anchorage geometry
- Where the fixing points are, how far apart they sit, and at what angle the assembly meets them.
- Fixing specification
- Bolt thread and length, plus the spacers, washers and any packing pieces the design calls for.
- Webbing length
- Enough to reach and route correctly for the seating position, without excess that changes how the belt sits.
- Retractor mounting and behaviour
- Body-mounted or seat-integrated, and whether the position requires switchable locking.
- Tongue and buckle pairing
- Tongue profile and aperture matched to the buckle throat and internal catch.
- Electrical connections
- Where the buckle carries a belt reminder switch, the connector type and wiring must match the vehicle.
Specification also drifts within a model. Manufacturers make running changes, variants differ, and vehicles built for different markets are not always identical. This is why model year and variant matter, and why a photograph of the installation in front of you is more useful than a description of what the part is called.
Questions to settle before selecting a replacement
Have these ready and an enquiry usually resolves in one exchange rather than four.
- What is the make, model, model year and variant of the vehicle?
- Which seating position is the belt for — driver, front passenger, rear outboard left or right, rear centre, or a specific row?
- What is actually wrong with the existing belt? Be specific: frayed webbing, no retraction, no locking, unreliable latch, post-collision.
- Is the retractor mounted to the body behind trim, or built into the seat?
- Is there a height adjuster or upper guide in the belt's path?
- Does the buckle carry a wiring connector for a belt reminder system?
- Is any part number visible on the belt, the retractor housing or a label on the webbing?
- Do you need one belt, or a matched set across several seating positions?
- Is this a one-off replacement, or a specification you will need to reorder across a fleet?
- Can you send photographs — the installation with trim in place, and the mounting points where visible?